Master Bedroom
 |
 |
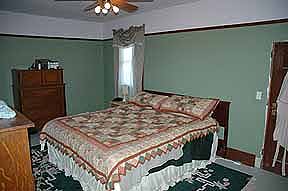
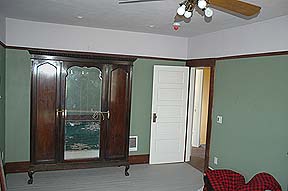
| Here
is the Master Bedroom after we moved in and set up our bed
and dressers. I need to repair the upper hinge to
the attic space closet door and then I can put up the trim
molding for it leaning on the wall next to the
armoire. |
|
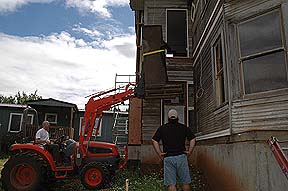 |
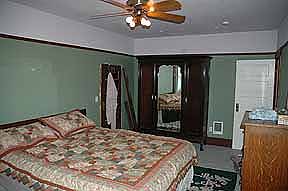
After a
bit of maneuvering, it was determined the armoire was just
not going to reach all the way up to the Master Bedroom
door with neighbor Erin McCart's tractor.
Fortunately a friend stopped by and with their help, and
Kass' dad Fred Kirchhofer, we were able to lift the
armoire up into the doorway and get it into the
room. At least now we have somewhere to put some
clothes in our room! |
 |
 |
 |
 |
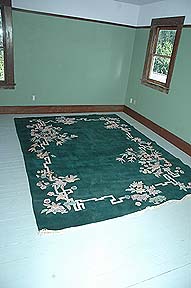
| Rick's
mom
had a rug stored in her garage she thought might work for
the Master Bedroom. We laid it out and with the top
piece of the base molding left to go, the Master Bedroom
is just about finished off! |
|
 |
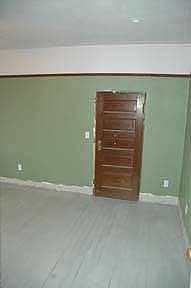
June 15, 2008 Rick and Kass installed the first pieces of base molding in the Master bedroom. We need to get one more long board and the upper molding and this room will be complete. |
Rick cut out the siding and installed the door that will lead to the deck from the Master bedroom. This originally was a closet but we decided that we would rather have access to the deck than a tiny closet that split the window in half. |
 |
 |
 |
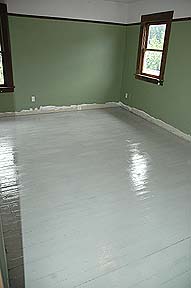
| Memorial
Day
weekend 2008, Kass cleaned out and painted the
Master Bedroom floor. It was pretty cool & damp
today so we had to turn on the heaters on the 2nd floor to
help it dry! |
|
 |
|
 |
|
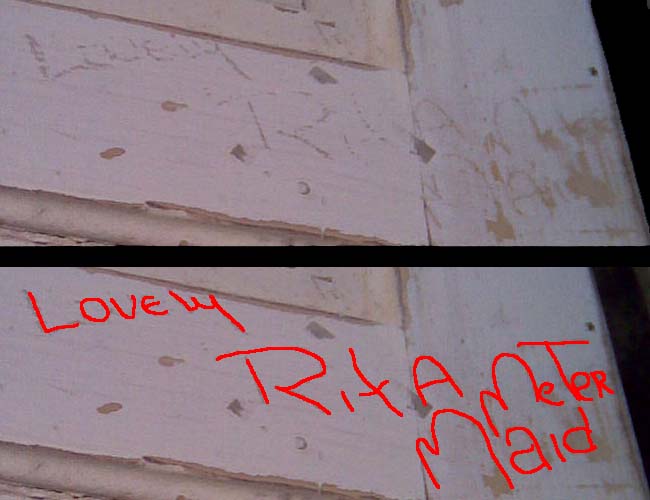
| On
the weekend of May 18th, Rick was sanding the Master
Bedroom door when he found the words "Lovely Rita Meter
Maid" had been scrawled into the paint. Being a
Beatles fan he recognized the song lyric from their Sgt.
Pepper's Lonely Hearts Club Band album. When he
sanded the top of the door, he found the words, "Lucy in
the Sky with Diamonds". Someone in this room must
have been a Beatles fan. |
|
 |
 |
| On
Thursday, March 6th, Rick had a day off and completed the
picture rail in the Master Bedroom, and he also swept up
most of the floor in preparation of painting it.
Once the floor has been painted, we'll put down the
stained base boards in here. Please note, once we
had power in the circuits, Rick made sure every light
socket had a bulb in it! |
|
 |
 |
 |
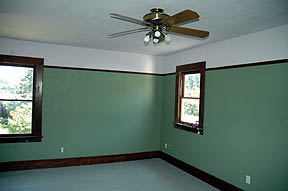
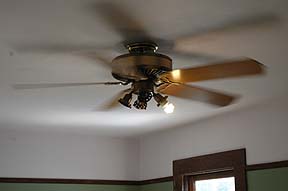
 On February 24th, 2008 we
ran power through the breaker panel and tested some
circuits upstairs! Here the ceiling fan is
shown with the light on and the fan running!
|
 |
|
 |
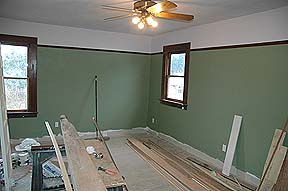
After a family camping
trip we came home and jumped right in with painting the
Master Bedroom. Rick picked out a green we
originally had a sample of for Jayden's room, and
Kassandra picked out a very feminine pink (she
calls it purple) named "He Loves Me" for the
ceiling. After the second coat was on, we put up
the ceiling fan and some of the window trim we had on
hand. Due to the changes where the wall used to go
into the window on the East wall, we may have to replace
the trim that went above that window.
................................................... |
 |
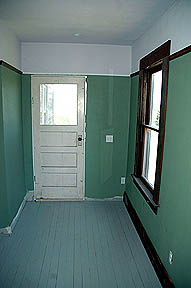
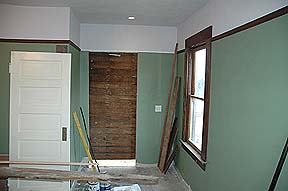
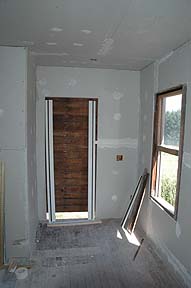 On June 30th we finished
the sheetrock in the Master Bedroom and put on most of
the first coat of mud. Above is the new doorway to the
deck. We're waiting to cut through until the deck is
built.
|
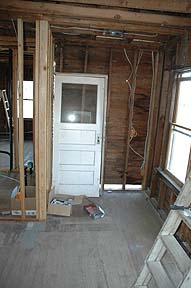
 View of the chimney wall.
|
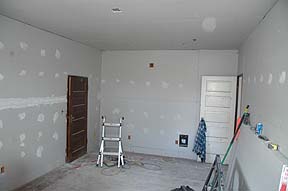 Storage closet and main
door.
|
 |
 |
 |
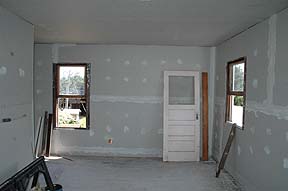
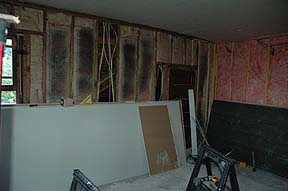
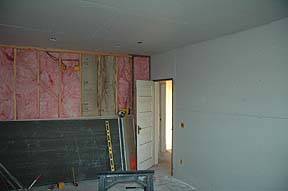
On Father's Day weekend 2007, we finished most of the ceiling and one wall in the Master Bedroom. Above you can see the exterior wall (upper left) and the wall by the Guest Room (upper right). Once we move all the sheet rock stacked against the exterior wall, we can put up the vapor barrier, sheet rock it and the other interior wall. |
 Above you can see all our
wiring from the 2nd floor heading down to the basement
where it will connect with our breaker panel. To
the right, the door we brought back from the coast will
lead to our deck!
|
 |
 |
 |
 |
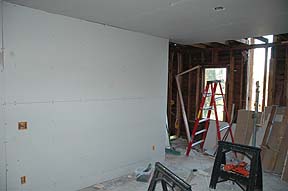
On the weekend of 9-10-2006 we cleaned out and finished up the wall between the Master Bedroom and the Bathroom (left) that ended up having some damage, and Kass' son Rick began running the wires & installing the boxes for outlets, telephone, DSL & TV hookups on the 2nd floor. |
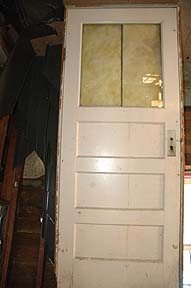 |
On our trip to Rockaway to get the flooring from Brian and Deb McDonald, they had a door that was sandwiched in their shop wall that they had no use for, and graciously gave it to us! We plan on putting it into the Master Bedroom to give us access to the 2nd floor deck! |
 |
 |
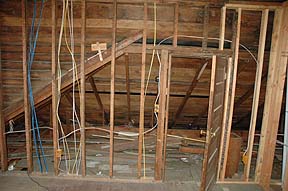
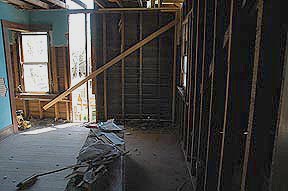
| On
the weekend of the 14th we cleared out most of the
upstairs after knocking out all the ceilings and walls we
could. Here in the Master Bedroom we left one wall
that Kass thinks we'll save, but had the ceiling and other
walls gutted & ready to wire for electricity.
Upper right you can see the ceiling, where I was pondering
going for vaulted ceilings, but not sure if that's
possible with the framework of the house, support issues,
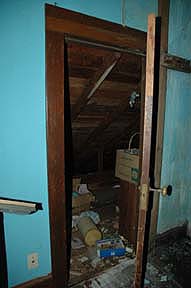
etc. Below right you can see more of the storage
area available through a closet-like door shown farther
below. We've considered putting in a Master Bathroom
one day, if we can manage it and make it look like it was
part of the original construction, but finances just wont
allow it right now. Maybe one day though! |
|
 |
 |
 |
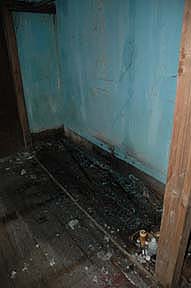
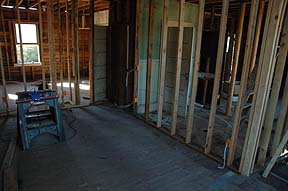
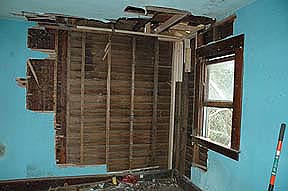
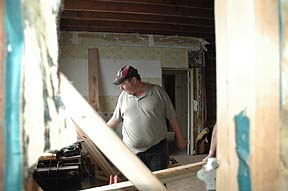
We had to remove most of the lathe and plaster
from the Master Bedroom in order to do some repairs. We
were able to save the West wall. There is some
rotted wood in the South east corner of the bedroom that
we will need to repair before we can start putting this
room back together. We will wire and add insulation
and then sheet rock the walls and ceiling. |
 |
 |
 |
Here's
some quick shots from our Memorial Day 2005 weekend
projects. In the upper left corner, a view of the repaired back corner of the Master Bedroom. We had to repair it to complete the roofing over it. Upper right, Kass' friend David Pierce lended a hand cutting the beams & studs we needed. Left is a shot of a bee hive we found in the wall of the Master Bedroom while replacing the rotted 2x4's in the wall. Certainly glad it wasn't an active hive! |
 |
 |
 |
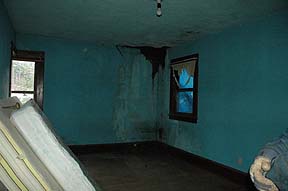
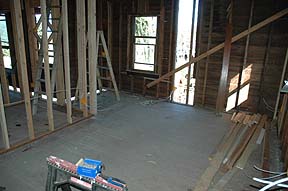
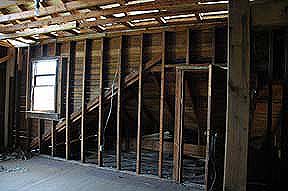
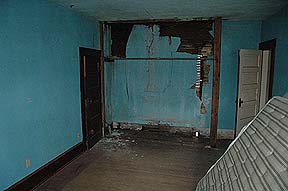
Clockwise
from
lower left we have the corner of the Master Bedroom by the
Bathroom, which is odd, having a wall connect to a window
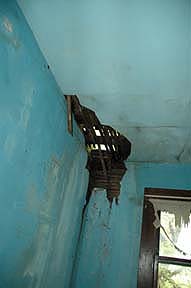
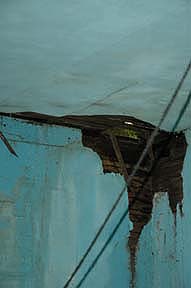
in the middle of the it. Upper left is the end by the
Guest Room, with the remains of the added closet and
damage from the Kitchen chimney. We plan to add a
Master Bathroom behind the door here that is currently a
storage closet one day. Upper right is the back
corner. |