Kitchen
 |
| Moving in on September 6th,
we discovered we had no idea where to put
everything! Kass is installing some pull out basket
drawers to help get things in and out of the cabinets. |
 |
 |
| After
we finally finished the Kitchen you would think we were
ready for a party, especially with all the pop lined up on
the counter in the above pictures. We're just
getting ready for Alex' graduation party tomorrow.
But on June 6th, 2008 we finished up the Kitchen, painting
the door and finishing putting the wood stove back
together. |
|
 |
 |
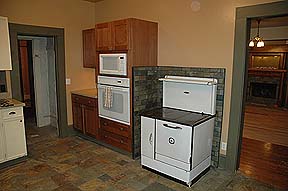
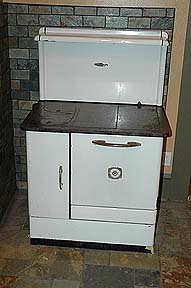
| ..................................... Right you can see Kass'
grandmother's old wood cook stove. Her parents
took it in to have it refurbished, but were told it's
good to go! Just need to install a chimney and we
can actually use this thing!
|
 |
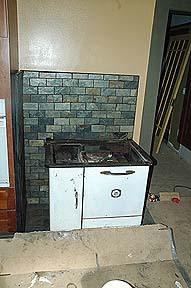 |
We worked on the wood stove June 4, 2008. Here the wood stove sits on the reconstructed base in front of the heat shield Kass finished last week. Once we finish the flooring we'll complete the stove, and that completes the Kitchen!!! |
 |
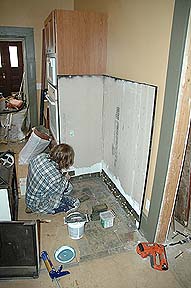 |
| Memorial Day Weekend 2008
we did alot throughout the house. Fred welded
together the frame for the heat shield to go behind the
wood cook stove. Here Kass relunctantly lets me take
her picture as she tiles the shield. |
 |
| We stopped at just halfway
through so Rick could cut more tiles before we ran out! |
 |
 |
|
|
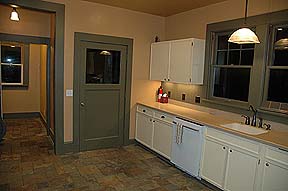
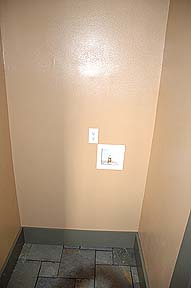
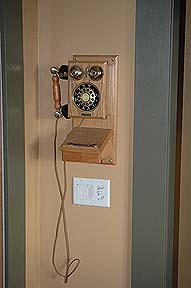
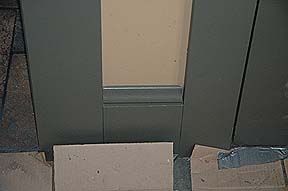
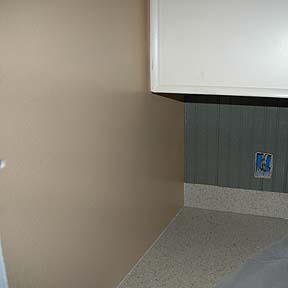
Left is the painted &
trimmed refrigerator area, above the light fixture in
the refrigerator area.
...................................................... Below an example of the completed floor molding, and right the mounted reproduction wall phone Rick found on Craigslist. |
 |
|
 |
||
 |
| On the weekend of April 12,
2008, Kass sealed the floor in the Kitchen, and finished
the tile in the Laundry Room area. |
 |
 |
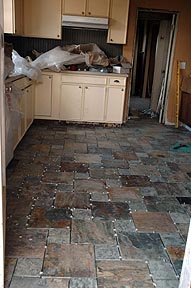 |
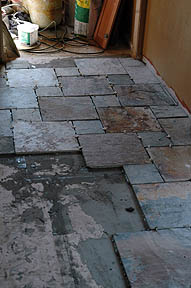
| We
decided to do a "hop scotch" pattern with the slate on the
Kitchen floor. We took 12x12 slate tile and cut some
of them down to 6x6 and started laying them down to select
which tiles went where. Then came the job of picking
them all back up and mixing the mortar! |
|
 |
 |
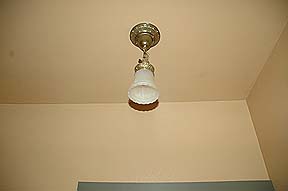
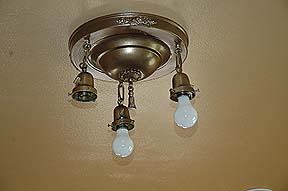
| We
managed to install both light fixtures in the Kitchen this
weekend, although we ran out of light bulbs and had to
leave one off the center light. |
|
We even set the clock on the microwave! It's so fun having electricity in the house finally! ......................... |
 |
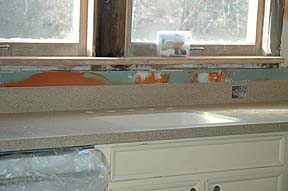
 On March 2, we installed
the Kitchen sink faucet which came with a hose sprayer
and soap dispenser. On the left hand side we have
a push button for the garbage disposal.
|
 |
 |
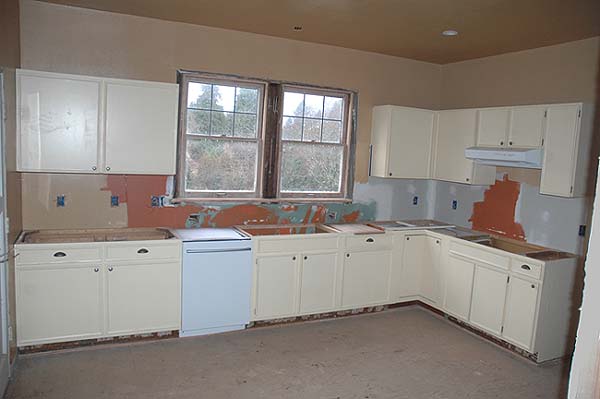
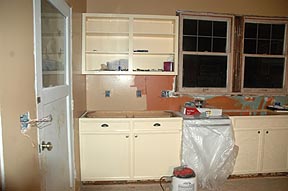
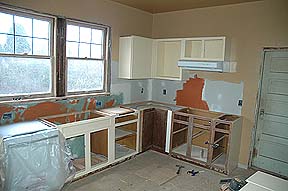
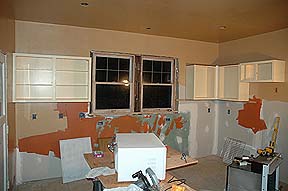
| The
Kitchen is almost complete; we need to install the light
fixtures, the plumbing finish and the flooring. |
Fred
hooked up the cook top and installed some brown outlets
and switches in the back splash. Now if we only had
electricity... |
 |
| Here
you can see the outlets we matched to our
countertop/backspalsh for under the window. |
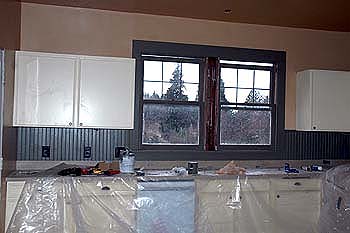
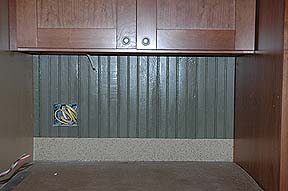 Here you can see our bead
board backsplash we have decided to go with in the
Kitchen. It's a charcoal/army green type color
that is hard to define. It should tie in very nicely
with the slate tile for the floor once we install it.
|
 |
 |
 |
 |
 |
 |
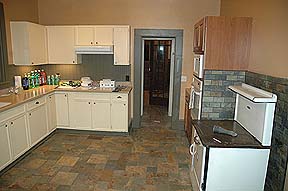
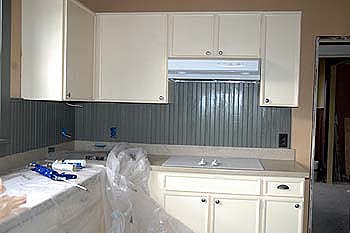
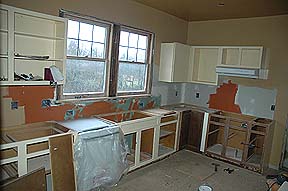
We now
have Countertops! Precision Countertops NW came today and installed our corian counter tops. Other than the installer slipping on the ramp of his truck and twisting his ankle it all went smoothly! Cant wait to finish the Kitchen now. Looks strange to have an almost complete Kitchen |
 |
| Here we finally have all the cabinet doors up and painted. Just need the countertops & backsplash! We originally wanted subway tile, but now Kass is having second thoughts. |
 |
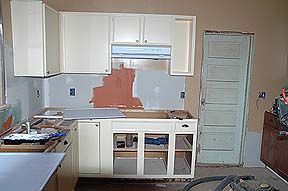 |
| With a lot of activities
slowing us down this weekend, not much was done, but on
Sunday we had most of the doors up on the Kitchen cabinets
with the new hardware installed. |
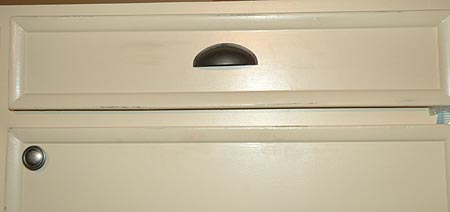 |
| Here you can see the slight
distressed look on the edges of the cabinets and drawers |
 |
 |
 |
Kass
has been busy painting cabinets for the last week.
Each day she gets a little more done. The cabinets
are now a "butter cream" color with oil rubbed handles and
pulls. She is "distressing" the edges of the doors
and the drawer fronts to give them a little aged
appearance. The counter tops will be installed on the 16th
of January. Until then, each day after work it's
sanding, priming and painting! |
 |
 |
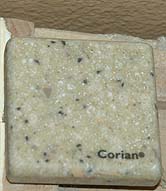
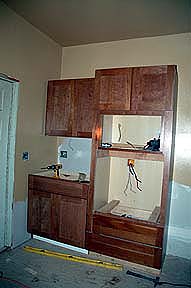
| Over
the final weekend of 2007 we mounted the remaining
cabinets in the Kitchen. Fred & Kass wired the
oven in and also wired & hung the hood fan & light
for the cooktop. Saturday we purcahsed an upper
cabinet to go to the right of the cabinets above the
cooktop, but haven't installed it yet. We are ready
for the countertop installers to come and do their
blueprint. Below left you can see the sample of the material our countertop will be made from. |
|
 |
 |
 |
 |
| On
December 22nd we managed to hang most of the upper
cabinets in the Kitchen. Jayden supervised as Kass
put up the board where we marked the cabients to go.
After we secured them to the wall we checked for level and
made adjustments as needed. We still need to make a
cabinet for the far right hand side. Tomorrow we
hope to get some of the base cabinets in! |
|
 |
 |
 |
 |
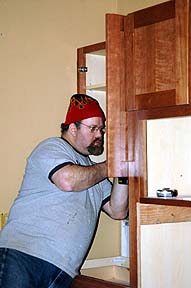
| Rick
and Kass spent Thursday afternoon installing the Cherry
cabinets in the Kitchen. Rick is puting on the doors here. |
We
ordered the countertops for the Kitchen, so now we have to
get the cabinets installed. |
 |
 |
| In the background you can see the NEW color for the Kitchen "pumpkin butter", Rick says it looks like his peanutbutter fudge, but he likes it much better than the 1970's "rust" color we originally painted the Kitchen | Kass chose a "butter cream" color for the cabinets. Here, she is painting the inside and the outside of the upper cabinets. Note the lovely fashion habits we follow in the cold weather. :) |
 |
 |
 |
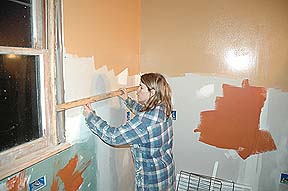
On
December 6th I came home from work to find Kass had the
first coat of paint on in the Kitchen! She picked
the colors from a plate she found at a sale. The
colors are an orange-ish brown with the first coat, but
will darken with the second coat. The ceiling is
almost a salmon pink, a green accent to follow. |
 |
 |
 |
 |
Over the last two weeks the walls have been taped, mudded, textured and now primed as well! Kass found a decorative plate with colors she really likes, so she's going to match paint colors, pick them up later this week and we'll put them up to see how they look! |
 |
 |
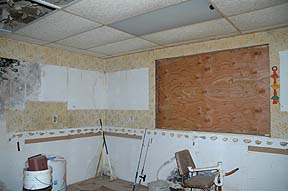
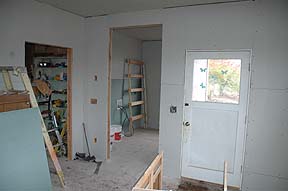
| On the
weekend of 09-30-2007, we finished the sheet rock in the
Kitchen and where the fridge will go (Next to Laundry
Room). Coming up next, taping and mudding! :) |
 |
 |
 |
 |
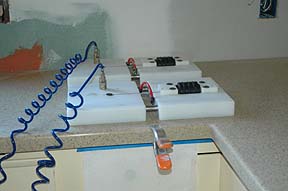
| Here
you can see the ceiling finally covered with sheetrock in
the Kitchen and through the opening in the left picture,
the ceiling of the Laundry Room too. With just one
and a half walls done, we've already cut out for 14
different things, and there are more on the window wall
yet to cut out! For big dinners we plan on being
able to plug in a LOT of crock pots and cooking
items. These are on two different circuits, so we
don't plan on tripping any fuses either. :) |
|
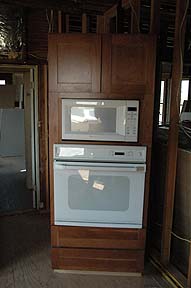 |
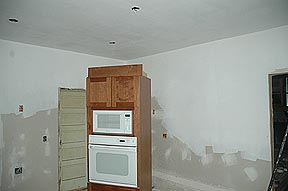
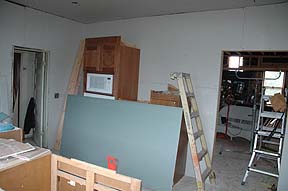
Rick took out the top of the three lower drawers, and used the piece he removed to frame in the opening made above the oven for the microwave. We purchased the cabinet on clearance at the Parr Cabinet Outlet in Hillsboro, OR. Now this whole unit is ready to be installed! |
 |
 |
 |
Kass took the last week of March off and had a lot of the 1st floor wired. Here you can see her handiwork for some outlets that will be behind the kitchen counter backsplash (Upper left) and one of the recessed light boxes she installed (Upper right). To the left a shot of her hard at work. She really has been driving hard at getting this done! |
 |
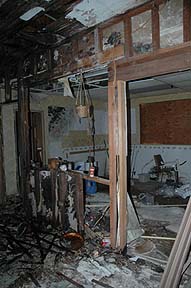
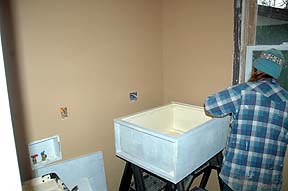
As you can see someone
doesn't like her picture taken.
 Here we are trying to
figure out best placement for the cabinets and making
some repairs.
|
 |
 |
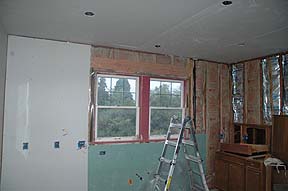
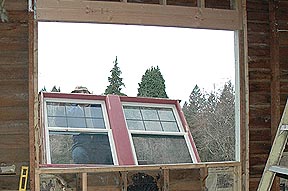
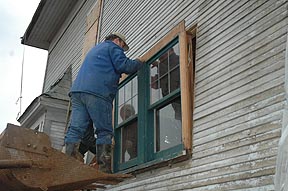
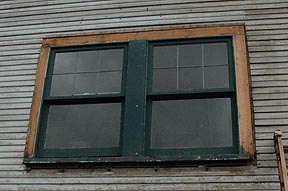
 Starting off 2006 we
installed the double window in the Kitchen. Here
Rick trims the siding so the window will fit in. Since
it was about 12 feet off the ground we used the tractor
as a lift for both the window and Rick! <G>
|
 |
 |
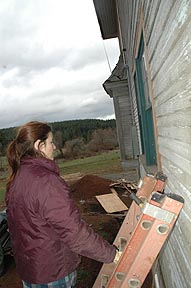 |
Fred
lifted Rick and the window up in the bucket of the
tractor, then Fred climbed up to help hold it in place as
Kass centered it in the opening. It took a couple of
additional trims on the siding to get it to fit just
right, but it went in smoothly and no broken glass! Once it was nailed in place, there was nothing left to do but inspect it for fingerprints. <G> We will need to replace two weights and strip the paint off of it, but other than that it's a much needed improvement for the Kitchen! No more rain & wind coming through there. |
 |
 |
 |
 |
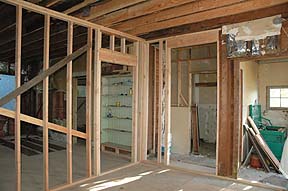
| On July
3rd, we finished the walls in the Kitchen and decided on a
basic layout. We opened up the wall between the
Kitchen & Laundry Room, and will put a single Pocket
Door in there to close off the Laundry area, and make part
of it into the Kitchen. The fridge will go into the
small nook we are creating, and create more
counter/cabinet space for us. |
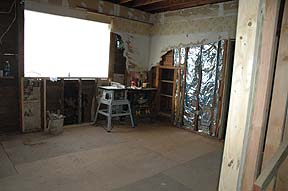
Rick
was walking around with a sappy grin for most of the day
at this point. He could be heard saying "Floor" with
a deep sigh of pleasure and relief when he said it.
Here you can see the completed sub floor; no more joist
hopping for us! Under the window is some newspaper
used for a vapor barrier, dated January 6, 1980. |
 |
 |
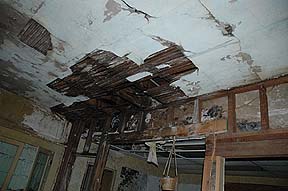
| Here
was a nice little surprise as we worked on the Kitchen; a
hidden cabinet in the corner under the stairs! The
top shelf is made of the original flooring and the middle
shelf of the sub-floor wood. |
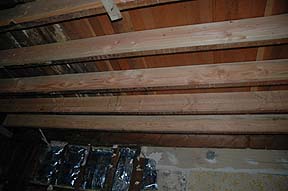
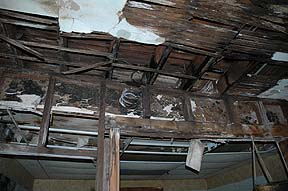
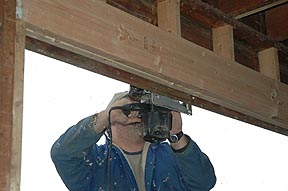
Here's
Rick cutting some of the new sub floor for the
Kitchen. Note the lack of safety goggles as he uses
the circular saw. He said by pulling his hat down he
protected his eyes. I sure hope that cut was
straight! |