Basement
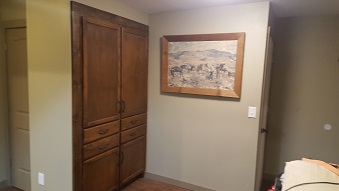 |
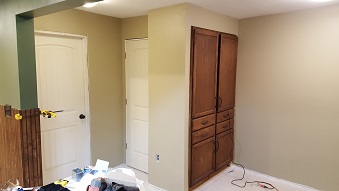
........................................................... In the Basement entryway we created a custom cabinet in the wall with an under the stairs storage closet behind it. |
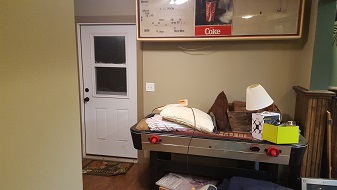 |
Below we have an Air Hockey table just inside the doorway, pardon our mess. :) ........................................................... |
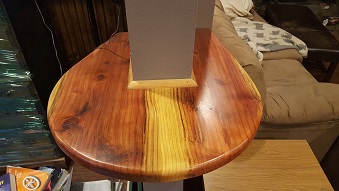
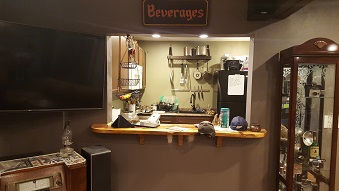
The next thing as you enter is the pool
area. Kass gave Rick the pool table as a gift a few
years ago, which inspired Rick to model the basement after
the bar from "How I Met Your Mother". I'm sure we'll
be finding and adding signs around the room for many
years. Below right, a custom table built by Rick
& Dave, designed by Kass.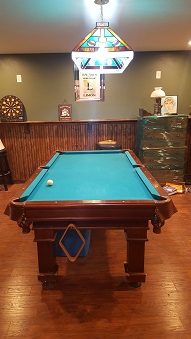 |
   |
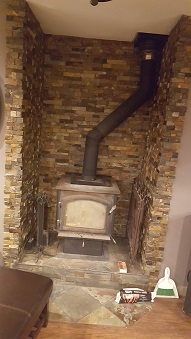
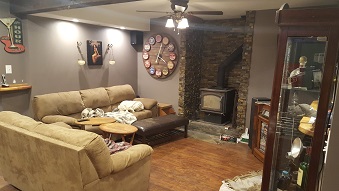
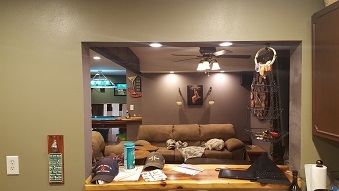
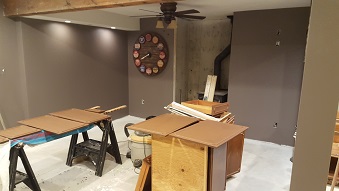
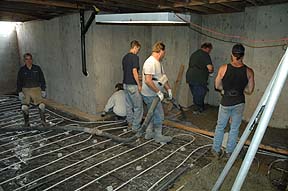
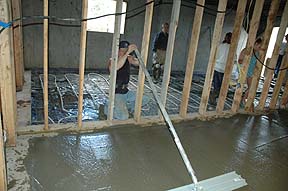
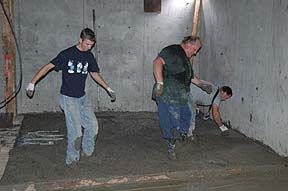
 As you continue in we made a seating area with large screen TV & surround sound for watching movies and other events. In the middle, the finished Wood Stove nook with rock inlay that Kass installed. Upper right a reverse view, and bottom right the pass through window to the kitchenette. |
 |
  |
 |
 |
 |
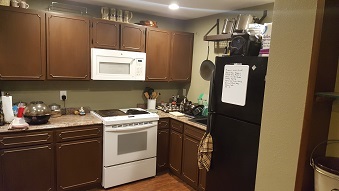
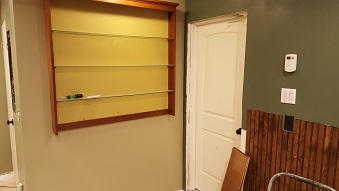
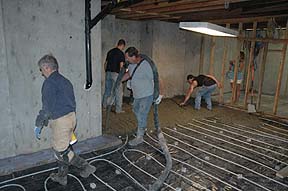
Here we have a kitchenette which will really help around Thanksgiving when we host about 50-70 people each year at the local grange hall! It also makes movie and game snacks more readily available! Upper right the view to the pass through window, and lower left a small collection of shot glasses and some knick-knacks. |
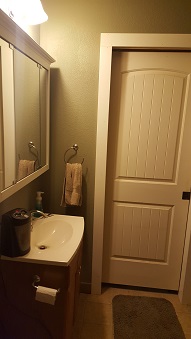 |
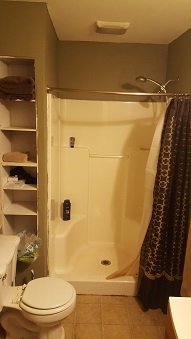
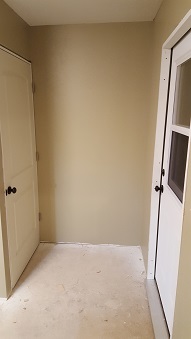
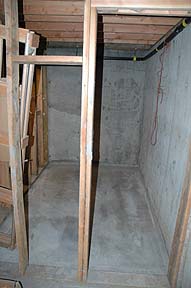
..................................................... Here we have the nearly finished bathroom. A pocket door leads to a room that may be an office or bedroom depending on what we decide to do. Originally this bathroom was begun by Kass' son Rick, and he did most of the work: installing the toilet, shower stall, cabinet and sink, as well as laying down the floor covering. |
 |
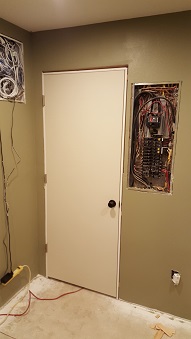
| In 2016, Kass'
daughter Alex was marrying her longtime boyfriend Ben
Liechty. We decided it would nice to have the
basement area finished so the groomsmen & Ben could
hangout there pre-wedding. That or Kass just wanted
an excuse to get the space finished. :) Top left the
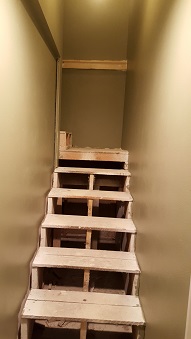
stairwell was painted and a small ledge was created as a
handrail. Views from the top & bottom of the
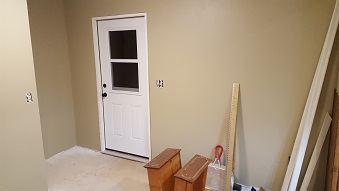
stairs. Top Center, a door to close off the basement
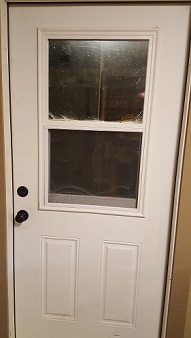
stairs (left) and the new exterior door to allow more
light into the basement. Upper Right the exterior
door and the new doors to the basement room (office?) and
closet under the stairs, as well as a built in cabinet we
made for additional storage. |
||
  |
  |
  |
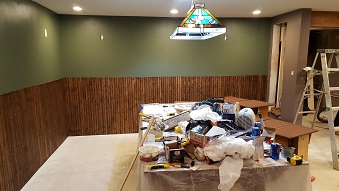 |
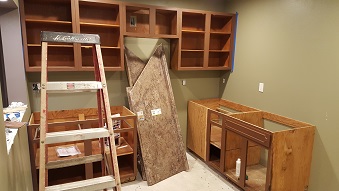
Left a view of the pool area. A drink
rail will be put up over the wainscotting, with a built in
cabinet for the pool cues on the purple wall. Right,
the back wall of the main seating area. A smaller
shelf will be put up along this wall. Rick calls it
a "Shot rail". Bottom left the mail seating area,
some of the kitchen cabinets and cabinet doors are being
primed & painted for installation. We also
completed the chimney for the wood stove. Bottom
center we closed off the furnace for the radiant floor
heating. Bottom right the kitchenette cabinets are
mostly installed and the counter tops are ready to go
on. Below a shelf for shot glasses is up. |
 |
  |
 |
  |
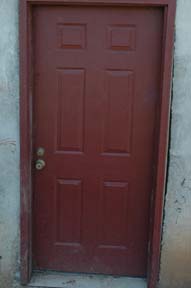 |
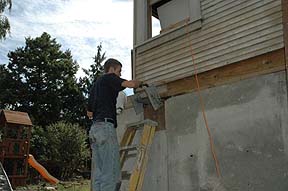
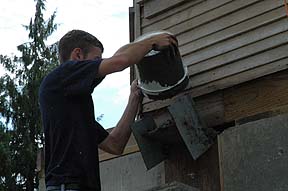
.................................................. Over Father's Day weekend 2008, we put in some plywood over the corner of the basement where the deck will go, and Big Rick installed the CO2/Propane monitor in the boiler room. Left, the exterior door Fred & Rick installed that Kass picked up at The Rebuilding Center last month. |
 |
 |
 |
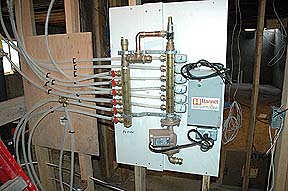
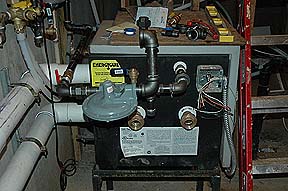
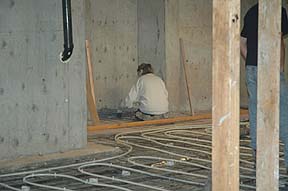
Above
left is the radiant floor heating manifold Fred & Rick
installed on 04/27/08. Above is a hot water line Fred
ran. It looks like something from Frankenstein's
lab, but it should work! Left is the Insta-Hot water
heater and below the propane boiler for the floor heating. |
 |
|
On February 24, 2008, we ran some power through the breaker panel to test circuits, and we finally had lights & power in the house! |
 |
 |
| Earlier in the week, Fred
& Kass jacked up the floor under the Kitchen to level
it out more. On the weekend of November 4th, 2007,
Rick & Kassandra built a bearing wall to separate the
bedroom from where the stairs will come down. |
 |
 |
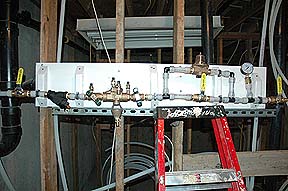
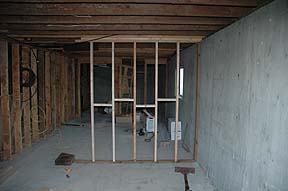
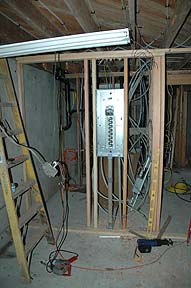
| Fred & Kassandra framed
in the wall for the boiler and Utility room in the
basement on October 17th & 18th. Left the
electrical panel was installed, and above the boiler
manifold is waiting to be mounted and hooked up! |
 |
 |
 |
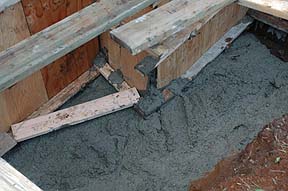
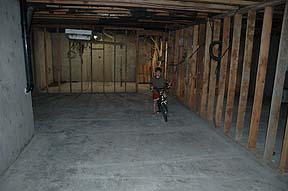
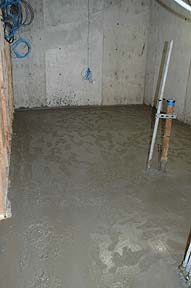
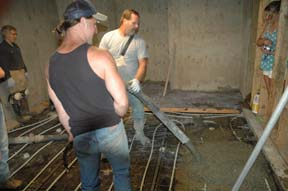
After curing for a day,
Bob came back out and cut across the slabs to prevent
them from cracking. Above left, Jayden rides his
bike in the great room area, with the utility room in
the background.
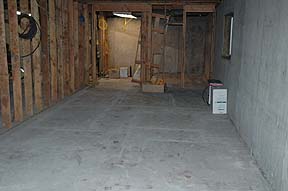
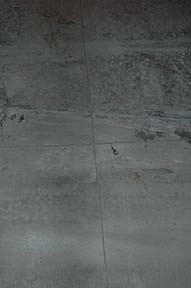
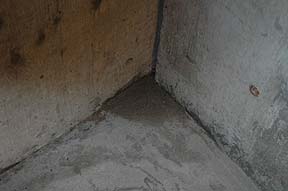
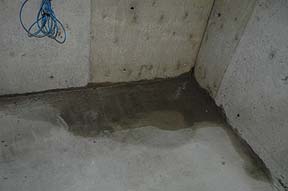
.............................................................. Above right the bedroom and stairs area, with the walk in closet and bathroom in the background. Left, a close up of the saw cuts in the concrete. Below left the wood stove will go in this area, below right a close up of some moisture coming in through the concrete in the wood stove area. |
 |
 |
 |
Left, the Basement bathroom, and right, the walk in closet are also dry & tight. Below left, the utility
room, where the boiler, water heater and electrical
panel will go, has moisture coming up through it
too. Kass is hoping backfilling around the corners
of the house will prevent the water from getting in.
|
 |
 |
 |
 |
 |
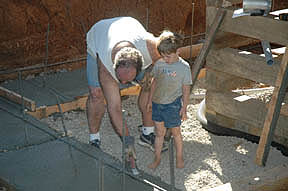
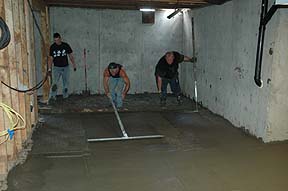
| On
the weekend of September 22, 2007 we poured the concrete
floor of the house. Above left Jack Keeley looks on as
Fred Kirchhofer steadies a two by four while Rick cuts it
to length. Above right the cement truck driver
adjusts the load to be poured into the pumping unit. |
|
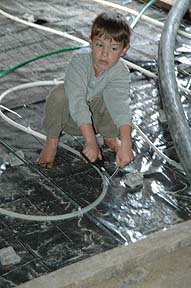
 Above, Kass cleans the footings. Right and below, Jayden snips off the excess zip ties holding the radiant floor heating tubes in place. |
 |
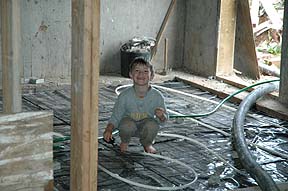 |
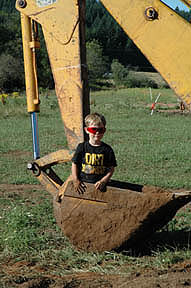
Jayden was very proud of being a great helper in restoring the old house. But he also asked that we keep it a secret, so please don't tell anyone. Thank you. |
 |
 |
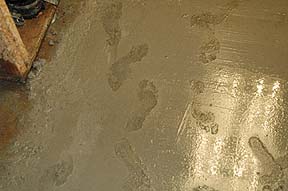 |
I suppose we should have
expected it, but after pouring the first three rooms,
floating them and getting the finish done, we took a
lunch break. After eating some pizza and catching our
breath Jayden came in and said "Come see the footprints
I made in the cement!"
........................................................................................................................... We had hoped he meant the
excess from the first pour that was dumped in the barn
for the tractors to park on, but alas, it was the
bathroom (upper left), Utility Room (upper right) and
the walk in closet (left). After a bit of water and more
floating we smoothed most of the prints out. But we
saved some for posterity. :)
|
 |
 |
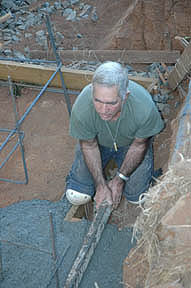
| Prepping
the
larger room for pouring, Kass puts down a bonding adhesive
under the wire mesh on the footing for the wood stove. |
|
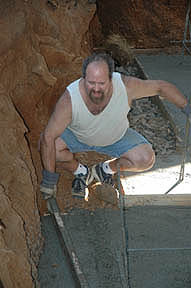
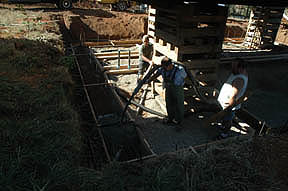
 Jack Keeley Rick Close & Fred Kirchofer discussing work ethics, particularly Age Before Beauty vs. Letting Youth Gain Experience. |
 Dennis from D&S Concrete Pumping starts off the great room with John Keeley, Fred Kirchhofer and Erin McCormack looking on. |
 Rick Close looks on as Dennis & Bob make sure everything is ready to pour over the footings where the wood stove will eventually go. |
 |
Left
Fred watches as Bob works the edges under where the wood
stove will go, as Dennis pours more concrete, Rick Close
and John Keeley stand ready and Kass continues 'painting'
the footings with the adhesive. Right, Fred looks
over the footings as Dennis keeps on pouring, Rick &
John smooth out the concrete while Rick's girlfriend Erin
watches and takes a few pictures of her own. |
 |
 |
 |
|
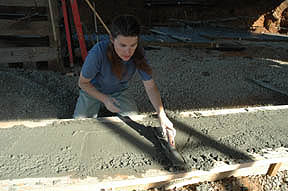
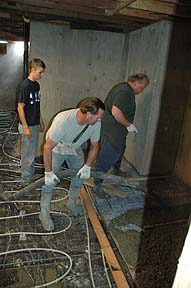
Above left, Jack Keeley
floats & smooths the edge of the new concrete with
the footings poured back in 2005. Above right,
Jack's son John Keeley uses the large bull float on the
new pad.
Below left, Rick &
Bob do their version of the Mexican Concrete
Dance. Dennis floats the edges behind them.
Bottom right Rick & Bob screed the concrete as John
floats the fresh areas.
|
|
 |
 |
 |
 |
|
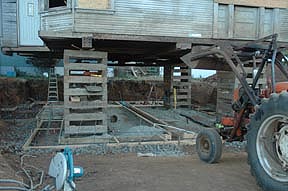
Above left, one of the three remaining slots in the foundation from the beams used to move the house here. Fred welded together a handy little device for us to pour the concrete into and let it slide down into the forms to fill them up. Yet another reason why we call him MacGyver! |
 |
 |
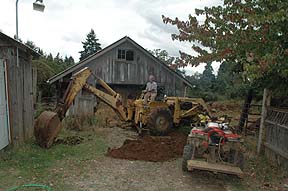 |
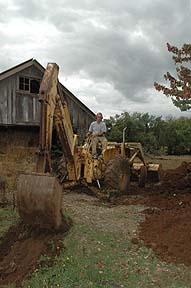
| Kass' dad Fred dug the
ditch from our well house to the farm house with his
backhoe he bought and restored this summer. (Maybe
it DOES run in the family?!?) We also ran a conduit
line to supply electricity to the well house once we
change over the electric service. |
 |
 |
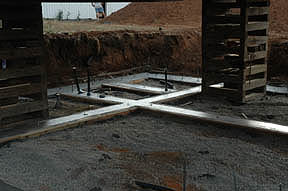
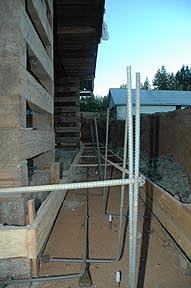
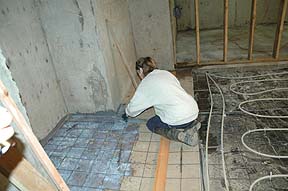
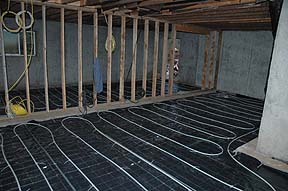
| Above left are not the lower intestines of
a space alien; it's all the lines coming together in
what will become our Utility Room. There are hot
& cold water lines, and all the water lines for the
radiant floor heating in the Basement as well as the
main floor, along with a work light and the conduit
lines for the electricity as well! Above
center and right, you can see the lines for the radiant
floor heating laid out and tied down to the mesh over
the vapor barrier for the Basement floor. The section
without tubing above right is where the stairs will be
coming down from the main floor. Below left is a
picture from where the wood stove will be in the
Basement looking towards the opening to the stairs and
the door that will be under the deck. Below right
are the bathroom and walk-in closet for the bedroom down
stairs, with some florescent lights we have for this
space. We plan to hang them up as temporary
lighting in the near future. |
|
 |
 |
 |
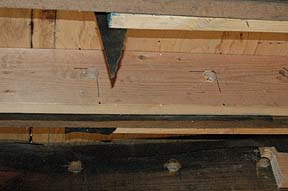 |
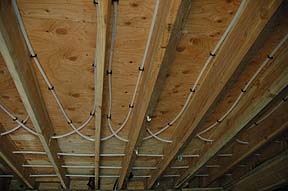
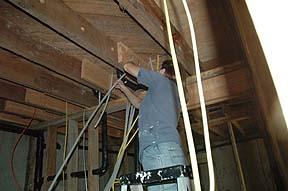
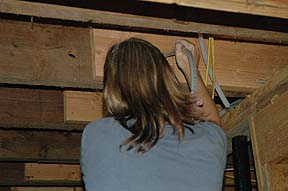
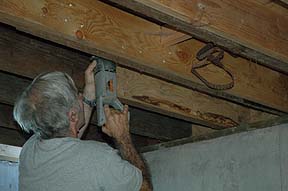
 Top right you can see how the
holes Rick drilled had to be bored, sometimes through
three joists at once! Right and below, Kass pulls
tubing through the joists. Top right you can see how the
holes Rick drilled had to be bored, sometimes through
three joists at once! Right and below, Kass pulls
tubing through the joists. |
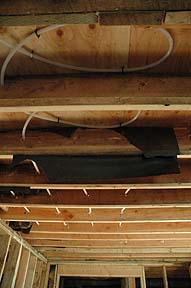
 Below Fred drills a hole
through some cross bracing, while above left and left
you can see how the radiant floor tubing was stapled up
to run heat under the main floor
|
 |
 |
 |
 |
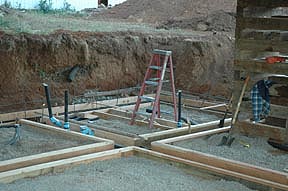
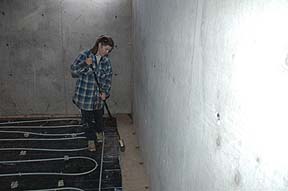
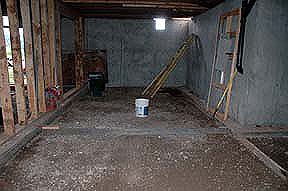
| July
14th, 2007 we hired a young man to level out the Basement
floor for us. We plan on pouring the concrete floor
later this summer |
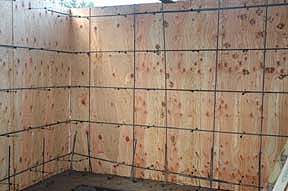
This is
the future Family Room all ready to lay down the vapor
barrier, insulation, rebar, the radiant floor heat tubing,
then pour concrete. |
 |
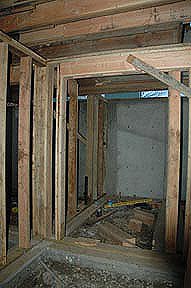 |
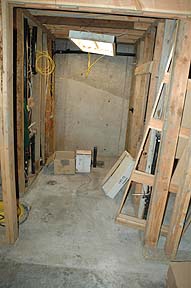
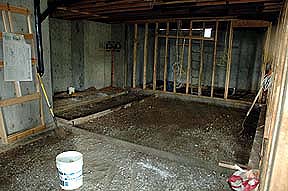
| On this side of the support wall will be a guest bedroom or work room, the stairs to the upstairs, and an "entry" area. | This will be a pocket door into the bathroom from the bedroom. To the right of this room is another small area for a walk in closet. |
 |
 |
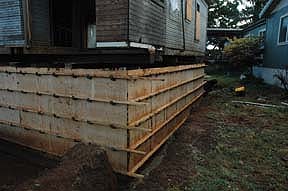
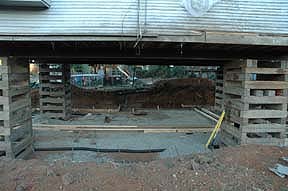
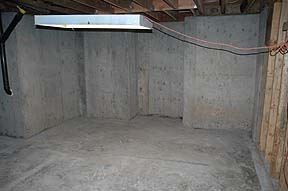
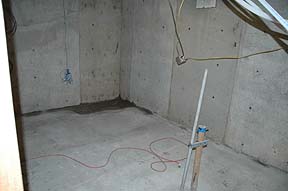
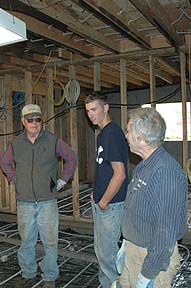
| Now that the foundation is complete, we can begin working on the interior of the Basement. The walls in this picture are the main support walls. We had to build these prior to the house being set down. They replaced the beams that used to support the house. | We are standing in what will be the storage room. From the Family Room you can either go into the Bathroom (directly on the other side of the wall in this picture) or into the storage room. The hot water heater, boiler and the electrical panel will be located in here. |